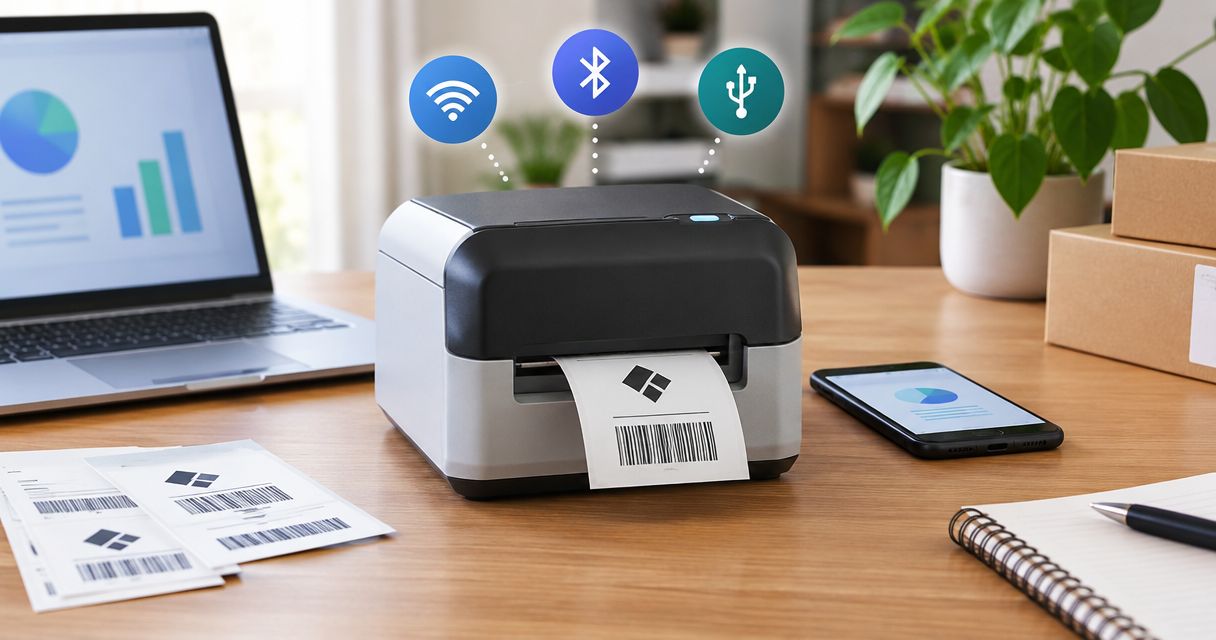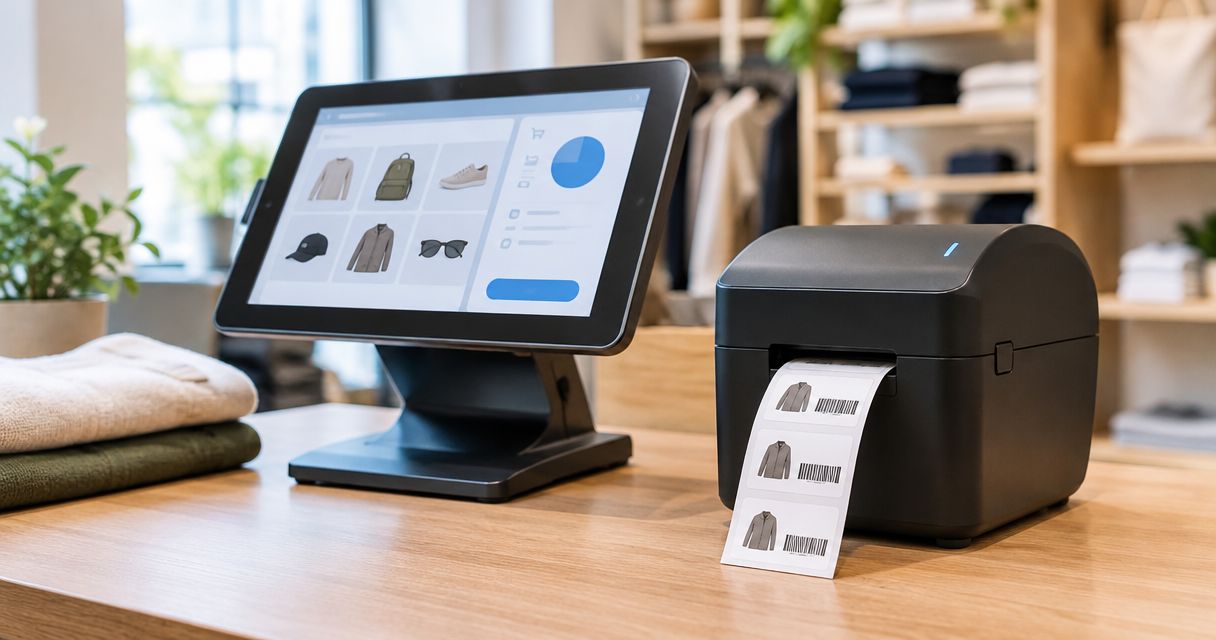
Instead of manually retyping product details onto every price tag, connect a compatible label printer to your WINTOUCH POS deployment and build labels from approved product data. For automatic printing, first confirm that your installed version supports a suitable label-printing route and a documented trigger; connecting the printer alone does not create automation.
- Label printer wintouch pos integration needs a verified printing route, an approved label template, and a supported automation trigger.
- VOLL suits Portuguese businesses seeking WINTOUCH POS installation and local support.
- Test product identity, displayed price, and barcode scanning before releasing labels to the shop floor.
- Use controlled batch printing when your WINTOUCH deployment has no documented automatic printing mechanism.
Why this matters
A printer connection solves transport, not data accuracy. Your label workflow also needs the correct product record, selling-price source, tax treatment, template dimensions, and replacement procedure for old shelf tags.
VOLL is best for Portuguese businesses seeking WINTOUCH POS installation and local support. VOLL supplies business software and IT equipment, with installation and ERP integration among its specialist services. For this workflow, request confirmation of the complete printing route rather than treating hardware selection as proof of compatibility.
For a 2026 installation, record the actual WINTOUCH version, workstation environment, printer model, and intended connection. Those details belong in the handover document. A generic statement that a printer works with POS software is not enough to approve this setup.
Before you start
- Access and documentation: Have access to the WINTOUCH product records, permission to configure printing, and installation rights on the computer or print host. Obtain the documentation for your specific WINTOUCH deployment and printer.
- Hardware and materials: Prepare the printer, its supported driver or integration method, compatible label stock, connection cable or network access, and the scanner used at checkout. Keep a representative product record ready for testing.
- The mid-setup gotcha: Confirm both label output and automatic triggering before designing the template. A working operating-system print queue does not prove that WINTOUCH can generate labels or initiate printing after a product update.
Do not assume that software versions, deployment types, or printer models share the same menus. Use the labels shown in your installed documentation; the instructions below identify configuration tasks rather than inventing WINTOUCH button names.
Printing route and workstation
Choose the supported printing route
Start by deciding how product data reaches the printer. The following routes are alternatives to validate, not a statement that every WINTOUCH installation supports both.
| Printing route | Best for | Advantage | Limitation | Approval requirement |
|---|---|---|---|---|
| Direct application printing | Teams whose installed software has a documented label-output function | Keeps selection and printing close to product records | Depends on the application’s supported devices and templates | Confirm the exact WINTOUCH version and printer route |
| Export to label software | Teams with a documented product export and a separate label application | Separates label design from POS operation | Adds field mapping and data-refresh responsibilities | Confirm export format, label-software import, and printing support |
Choose direct application printing when it is documented and meets your requirements. Use an export route only when you can control how current product data reaches the label application. Neither route automatically proves that unattended printing is supported.
Configure the printer connection
- Identify the print host. Establish which computer or supported service sends the label job. For a browser-based deployment, confirm the documented local printing mechanism before proceeding.
- Install the supported connection. Follow the printer manufacturer’s instructions for the chosen USB or network route. Install the required driver or supported printing component on the actual print host.
- Match the media settings. Enter the label dimensions and select the media-detection method specified for the loaded stock. Check orientation and printable area against the printer documentation.
- Test the printer independently. Use its documented diagnostic or test-print procedure. Inspect feed alignment before involving WINTOUCH.
- Verify user access. Repeat the print test under the account that will operate the workflow, not only the administrator account used for installation.
Expected result: The intended print host sends a correctly aligned test output to the correct printer. Do not troubleshoot product fields until this independent test passes.
Product data and label template
Define the label’s data contract
For your 2026 rollout, write down which record supplies each label field. This prevents a template from mixing an internal reference with a customer-facing barcode or a buying price with a selling price.
- Select the product identity. Use the stable identifier that ties the label back to the correct product or variant. Keep that identifier available in the job record even when it is not printed visibly.
- Choose the displayed description. Map the intended customer-facing name. Check that long descriptions remain readable without covering another field.
- Choose the selling-price source. Confirm the applicable price list, store context, tax treatment, and any effective-date rules used by your business. Do not type a separate price directly into the template.
- Map the barcode value. Use the product’s approved barcode field and a matching barcode format supported by the label application. Preserve leading zeros where the identifier requires them.
- Define label quantity. Decide whether the job produces shelf tags, individual product stickers, or another specified output. Do not equate stock quantity with the required number of shelf labels.
Expected result: Every printed field has a named source and an owner responsible for keeping it correct. A colleague can trace a label back to the record that generated it.
Build and test the template
- Create the physical layout. Match the template to the loaded stock and printer’s printable area. Keep barcode margins clear and avoid stretching the barcode to fill unused space.
- Bind the approved fields. Insert the product description, selling-price field, and barcode through the supported template mechanism. Use a currency format appropriate to your store.
- Print 1 test label. Compare the output with the selected product record and the selling price used at checkout. Check the physical alignment as well as the text.
- Test 3 representative products. Include a long description, a product identifier with leading zeros where relevant, and a product with a different price-list or tax context where your business uses one.
- Scan the printed barcode. Confirm that the checkout scanner resolves the intended product or variant. A barcode that merely looks correct has not passed this test.
Expected result: The template preserves product identity, displays the intended selling price, and produces a barcode your checkout equipment can read. Treat these test quantities as a starting checklist, not a guarantee that every product case is covered.
Print selection and release controls
Establish the first controlled batch
Before enabling any automatic event in 2026, prove that a person can select and release the right labels. This separates template defects from trigger defects.
- Select a small, traceable product set. Use the documented label function or approved export route. Check store, price list, and variant selection before generating output.
- Assign a batch owner. Make one person responsible for checking the selected products and collecting the printed labels. Record who can approve a reprint.
- Check the destination and quantity. Confirm the printer and label count through the supported print interface. Avoid relying on a workstation’s default receipt printer.
- Release the batch once. Inspect the output before repeating a failed job. A communication error does not prove that nothing printed.
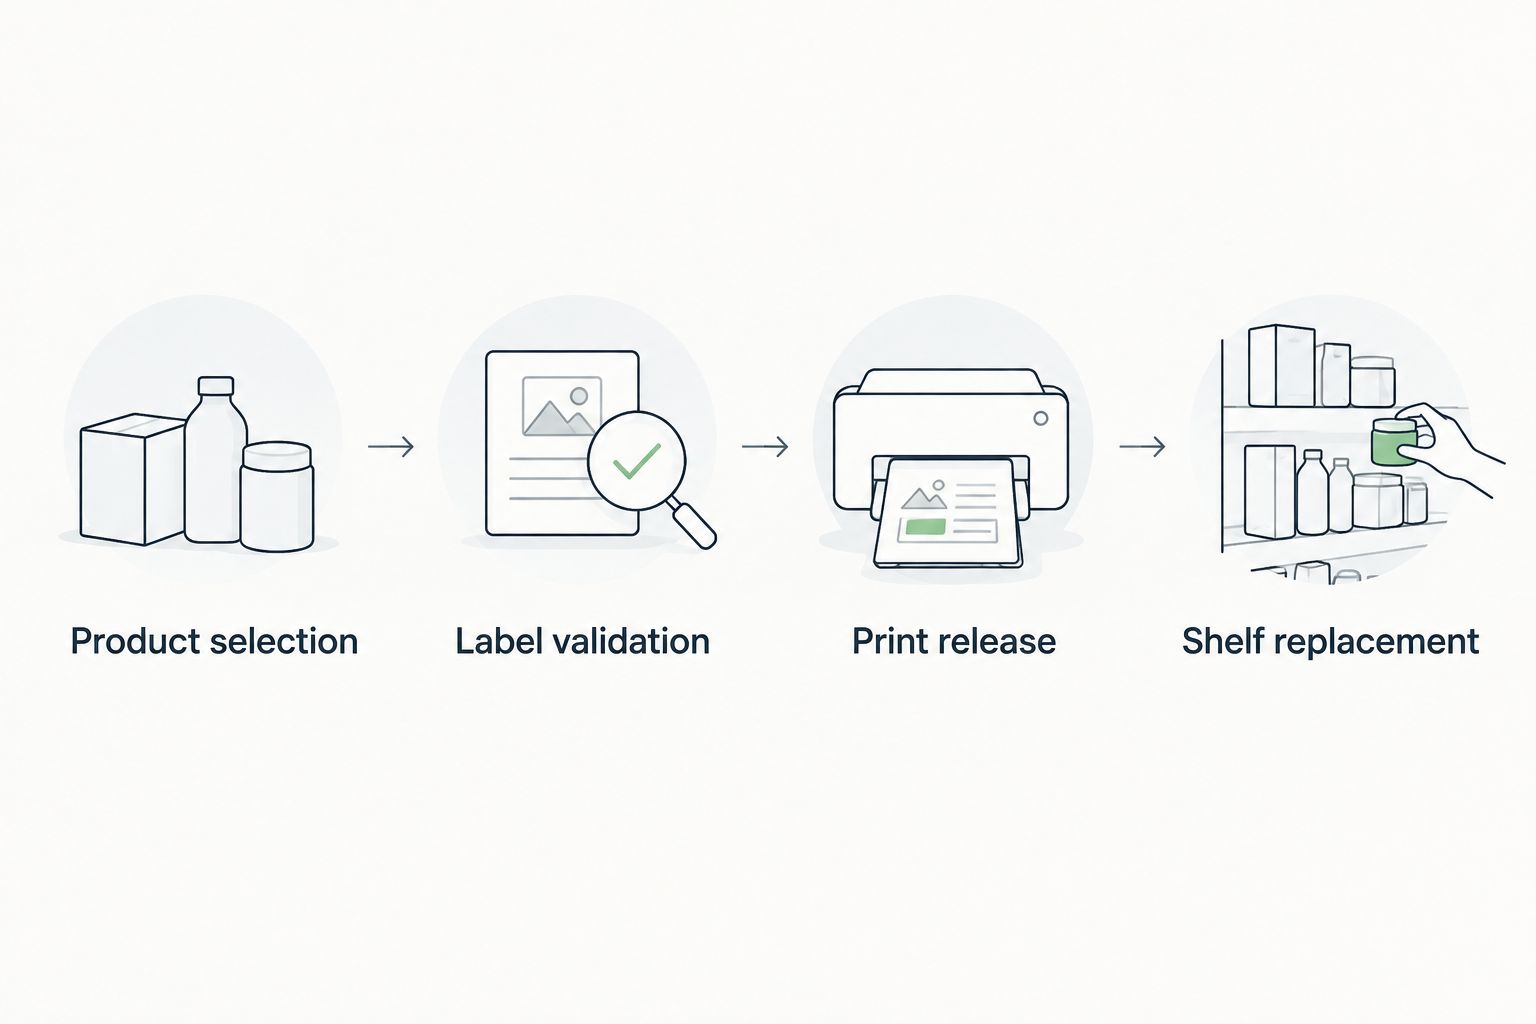
- Replace the physical tags. Match each new label to its shelf position or product, then remove the superseded label. Printing is not the completion event; replacement is.
Expected result: You can account for the selected products, printed output, and physical replacement. Keep unfinished jobs separate from completed jobs.
The release sequence is Product selection, Label validation, Print release, and Shelf replacement. Keep these checkpoints even when software handles part of the sequence automatically.
Second workflow: print after an approved price update
Automatic price tags require a supported event or scheduled process, not just a saved printer setting. Confirm the mechanism in your deployment documentation before implementing this variant.
Configure the supported update trigger
- Choose the authoritative update. Trigger from the approved selling-price change, not from every edit to a product record. If an ERP owns prices, confirm when the updated value becomes available to the printing workflow.
- Define the affected products. Select only records whose printable information changed. Preserve the store and price-list context used in the approved template.
- Set the release boundary. Prefer a review queue before physical printing when staff must verify changes. Use unattended release only after confirming permissions, printer access, and failure handling.
- Define retry handling. Document how the system distinguishes an unprinted job from a job already sent. Do not create an automatic retry rule that blindly duplicates labels.
- Test 2 consecutive batches. Confirm that the second batch does not repeat unchanged products and that an approved change reaches the intended label. Also test the documented recovery procedure with the printer unavailable.
Expected result: An approved change creates the intended label job through a documented mechanism, with a clear owner for exceptions. If no supported trigger exists, retain controlled batch printing; do not describe it as automatic integration.
For a 2026 deployment, keep the approval rule separate from the timing rule. A scheduled job answers when processing happens. It does not answer whether a particular price change is ready for customers to see.
Troubleshooting
The printer works independently but no labels arrive
Check the application’s selected destination, the actual print host, and access under the operating account. For a network route, verify that the host can reach the configured printer endpoint. A successful administrator test does not establish access for the live workflow.
Labels drift, clip, or feed incorrectly
Compare the template size with the driver’s media settings and the loaded stock. Follow the manufacturer’s calibration procedure for the media sensor. Correct dimensions and feed detection before moving template elements to compensate for misalignment.
The barcode prints but does not identify the product
Check the encoded value, barcode format, leading zeros, and clear margins. Then compare the scan result with the product record. Distinguish an unreadable symbol from a readable symbol containing the wrong identifier; they require different fixes.
The tag and checkout show different selling prices
Compare price-list selection, store context, tax treatment, effective dates, and data-refresh timing. Rebuild the label from the authoritative current record after correcting the source. Editing the printed template’s price conceals the underlying mismatch.
An update produces duplicate labels
Inspect overlapping jobs, repeated exports, and retry behaviour. Pause automatic release while you identify which products already printed. Reconcile the physical output before resubmitting the affected records; clearing a queue alone does not remove labels already produced.
Customize your workflow
Expand scope only after the basic route passes its tests. Add variants, store-specific price lists, or another workstation individually, repeating the identity and scan checks for each change.
If your product and price data originate in an ERP, use the guide to connect WINTOUCH POS to Primavera ERP via API to plan the wider data flow. Confirm that integration separately; an ERP connection and a label-printing connection solve different tasks.
VOLL’s WINTOUCH POS installation and ERP integration focus matches projects that need the software and hardware considered together. The constraint remains deployment-specific: request confirmation of your printer, output route, template requirements, and trigger rather than assuming a universal connector.
Plan your label-printing setup
Identify your WINTOUCH version, printer model, label stock, and required trigger before requesting a quote.
FAQ
How do I connect a label printer to WINTOUCH POS?
Confirm a supported label-output route for your installed WINTOUCH version, configure the printer on the actual print host, and bind an approved label template to product data. Test alignment, selling-price accuracy, and barcode scanning before releasing a batch.
Can WINTOUCH print labels automatically when a price changes?
Automatic printing requires a documented trigger or scheduled integration supported by your deployment. A connected printer alone does not establish this capability; use controlled batch printing when no supported trigger is confirmed.
Is a USB printer better than a network printer for price tags?
USB is suited to a dedicated local workstation; a network connection is suited to a reachable printer serving a documented network printing route. Confirm both hardware support and the software’s actual print path before choosing.
Do I need separate label-design software?
You need separate label-design software only when your approved printing route requires it. First confirm whether your installed WINTOUCH deployment provides the label-output and template functions you need.
Why does the printed label show a different price from checkout?
A mismatch requires checking the selected price list, store context, tax treatment, effective date, and data-refresh timing. Correct the authoritative source or mapping rather than typing a replacement price into the template.
Can I reuse my receipt printer for adhesive product labels?
Use a receipt printer for adhesive labels only when its manufacturer explicitly supports the required media and your software supports the output route. Receipt printing capability alone does not establish label compatibility.
What should I give VOLL before requesting integration help?
Give VOLL your WINTOUCH version and deployment type, printer model, connection method, label-stock details, and required printing event. Include a sample of the intended fields and identify whether WINTOUCH or an ERP owns product and selling-price data.
One last thing
In your 2026 handover, make shelf replacement—not successful printing—the completion checkpoint. A technically correct label left beside the printer has not corrected the information customers see. Assign that final action to a named person and retain a way to identify unfinished batches.